
Follow this step-by-step video to assemble your BioCharger!
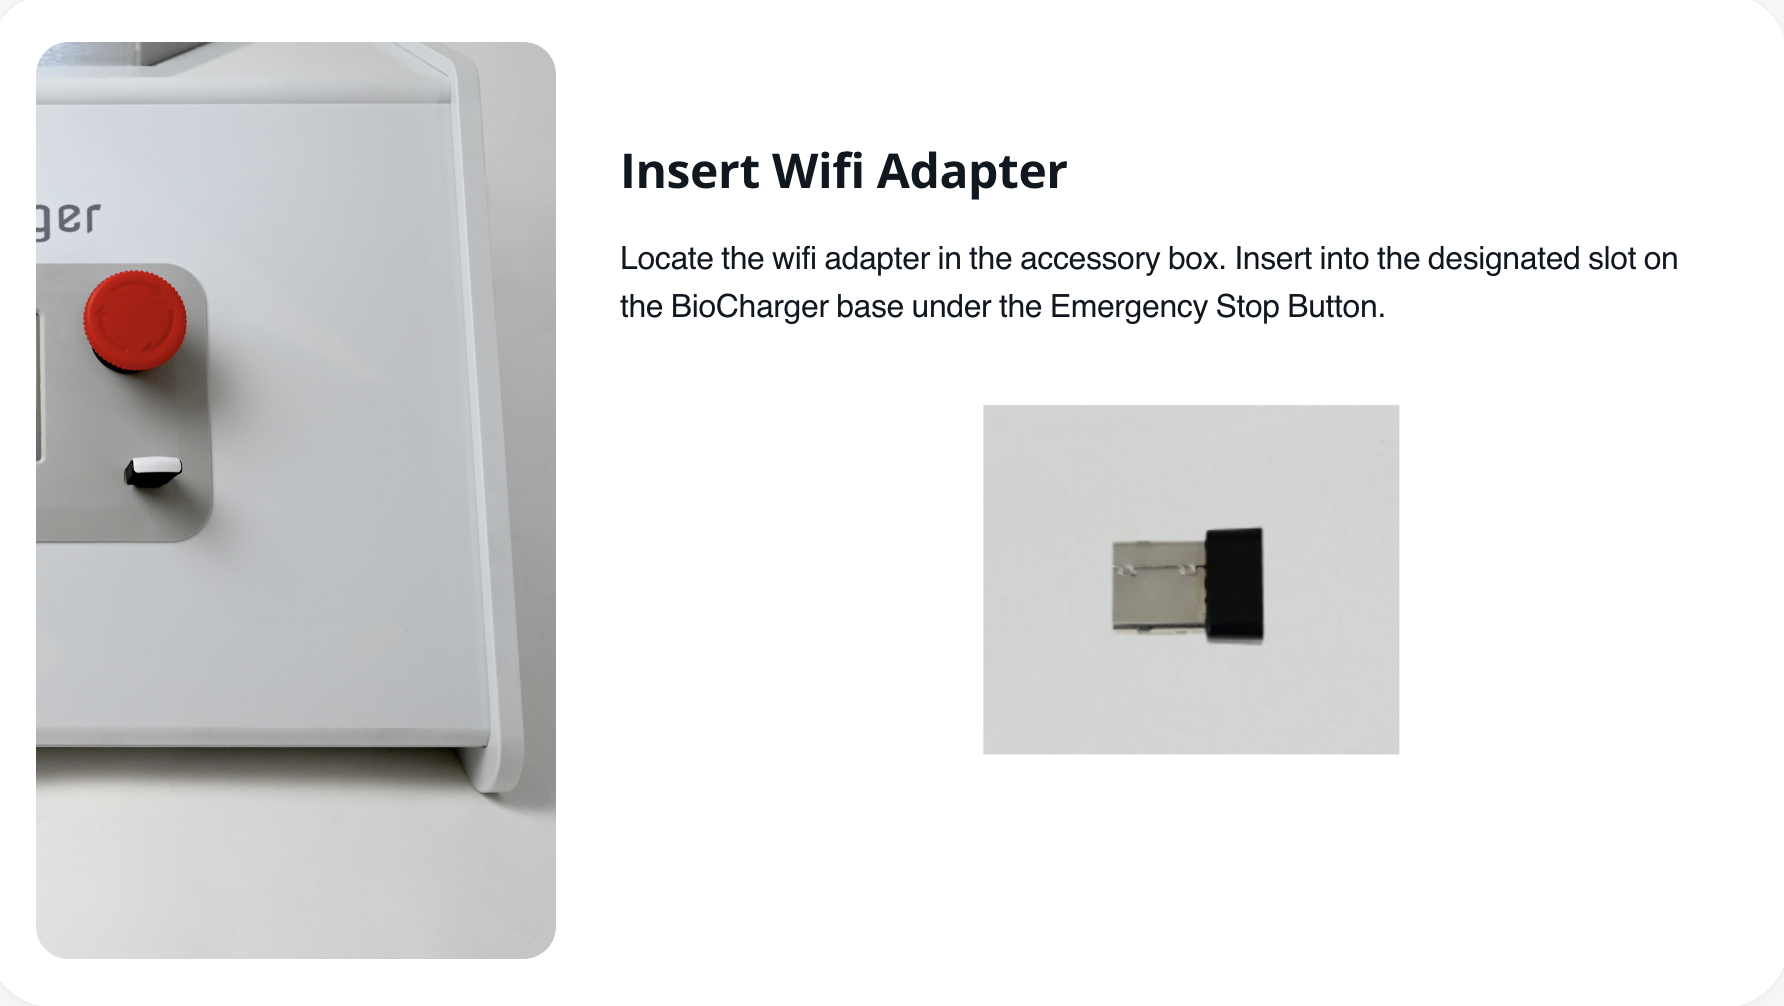
- Insert the WiFi adapter into the USB port on the front of your BioCharger before powering it on.
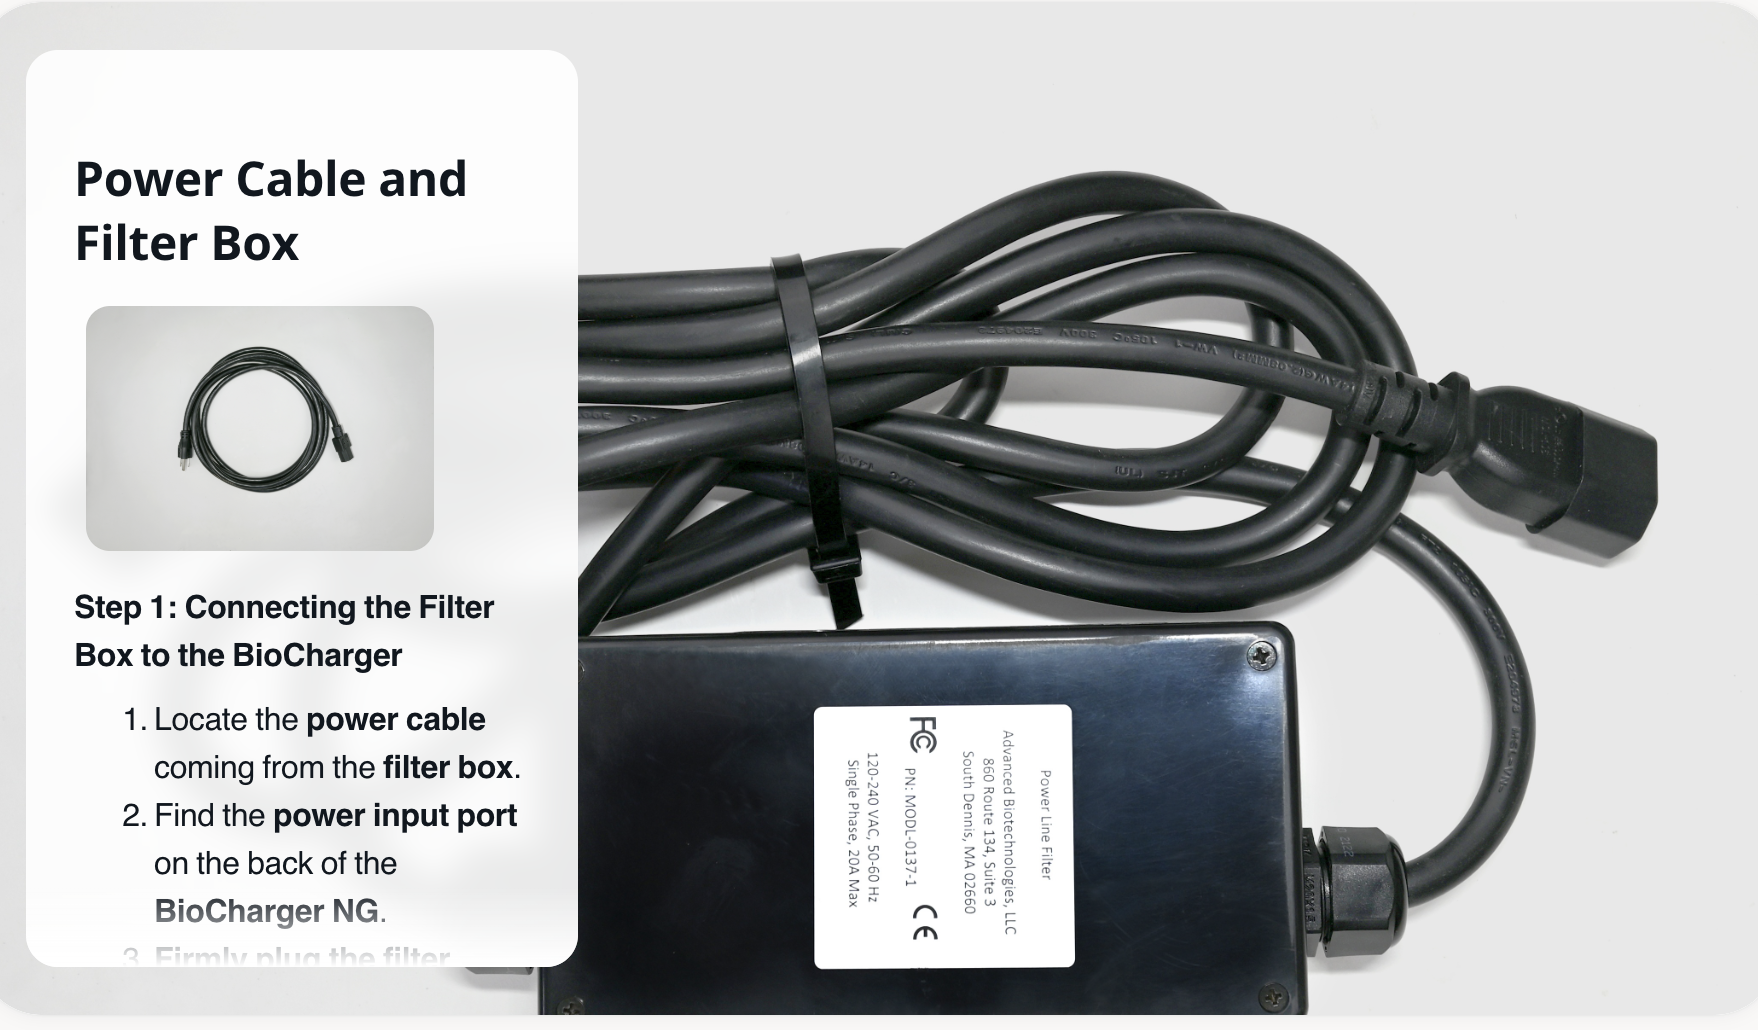
- Connect both power cords from the enclosure box. The filter box connects to the BioCharger's back, and the plug extender connects between the filter box cable and your wall outlet.
- To start your BioCharger, twist the red emergency button clockwise a quarter turn until it pops out. Then flip the power switch on the back, ensuring the dash is flush.
*Important notes:
- Always use a grounded outlet (three-pronged) to ensure safe and optimal operation.
- Do not use an extension cord or power strip. The BioCharger NG should be plugged directly into the wall.
- If you are in an area with unstable power or frequent surges, consider using a dedicated circuit for the best performance.
After your BioCharger is delivered and assembled, use this link to connect your BioCharger to WiFi: Connecting Your BioCharger To Your Wireless Network
Once your BioCharger is connected to your WiFi, you can then schedule your Onboarding session here: Onboarding Schedule